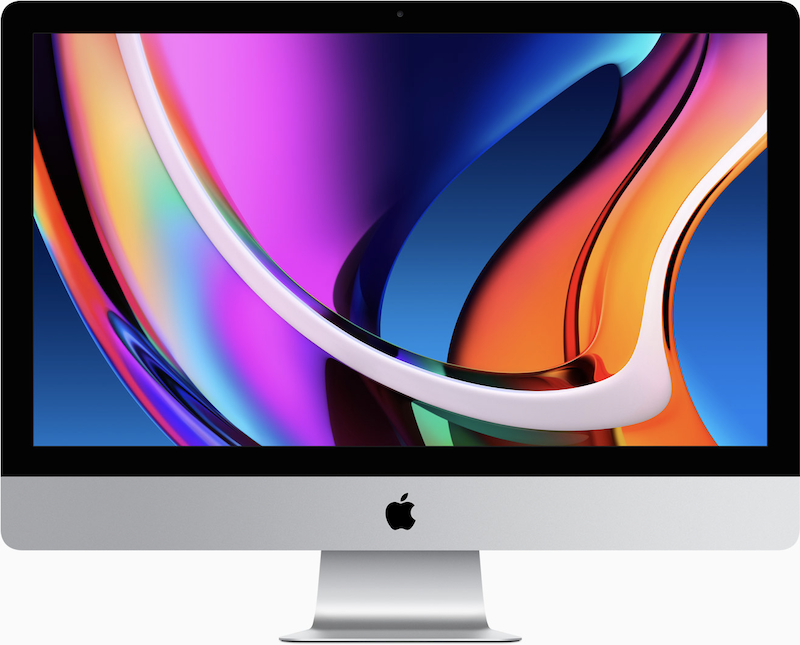
Coming out of yesterday’s Peek Performance spring 2022 keynote, Apple has killed the 27-inch 5K iMac. The 27-inch 5K iMac is clearly a victim of the Apple Silicon CPU transition. None the less, I am angered by Apple’s decision to kill the very machine that I was hoping to buy this spring. I really like my 5K iMac. But my Late 2015 iMac, purchased in the spring of 2016, is starting to get a bit sluggish when I’m running virtual machines, or when I have a lot of apps open, and there is the discoloring around the edges of the screen that I can’t unsee.
I went into yesterday’s event with an expectation that there would be a new M1-powered 27-inch iMac. I had an expectation of what I wanted to spend having gone so far as to add a healthy bump up in price for the ‘Apple Tax’.
After watching keynote, I was left feeling that Apple had an agenda with Peek Performance event. That agenda was to release more M1-based Apple Silicon Macs, yes, but to also continue the relentless push to raise prices and profit margins.
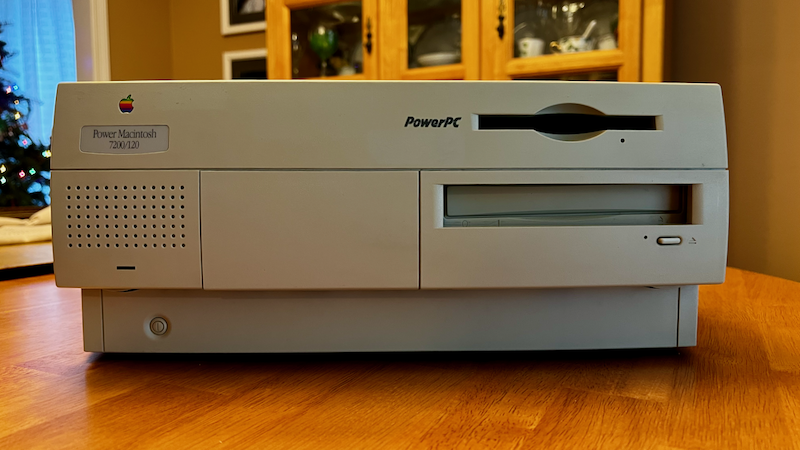
The new Mac Studio is the latest Apple Silicon Mac that comes in a 7.7-inch square that stands 3.7-inches tall. In essence, the Mac Studio is what you get when you cross a Mac mini with the 22-year-old Power Macintosh G4 Cube. The newest Mac is a tiny aluminum box that sits on your desk, tucked neatly under the new Studio Display. Naturally. The base model comes with a 10-core M1 Max CPU. On the high-end configuration, Mac Studio ships with a 20-core M1 Ultra rocket ship.
The Studio Display, a name that I really like, is the Apple branded answer to the disaster that is the LG UltraFine 4K and 5K displays. Studio Display is an amazing 27-inch 5K Retina display featuring a 5120 x 2880 maximum screen resolution. It has a 12MP ultra-wide FaceTime camera that supports Center Stage. A six-speaker array that includes support for Spatial Audio and Dolby Atmos. All of this is powered by an A13 Bionic CPU built into the display.
Let that sink in for a minute.
The Studio Display is a 27-inch Retina display with an A13 Apple CPU and speaker array.
Networking and storage have been moved off device to the Mac Studio computer.
You need the computer and the display to get a large all-in-one computer.
Are you getting it?
This isn’t just one computing device. It’s two. If customers want to get what was once available in a single device two days ago, they now need to buy a $1,999 base model Mac Studio and a base model $1,599 Studio Display. Why charge $2,200 for a 27-inch 5K iMac when you can charge customers $3,800?
Are you getting it?
You need two devices now.
It’s all about Tim Cook’s margins, baby!!
In my opinion, you never buy the base models. You always dial the configuration tool up a notch or two to get the machine configuration that most customers should buy. When you add a 2TB SSD and 64GB of RAM to the base configuration, the total package price jumps up to an eye-popping $5,300! Thats more that double what I paid for my iMac in 2016.
So that’s what has gotten me annoyed with Apple. With the 27-inch iMac now retired, there is no longer an inexpensive large screen all-in-one option. Oddly enough, a Cook Doctrine playbook favorite, keeping the older thing around with a lower price tag, wasn’t deployed this time around. I find this double-insulting since I can still buy a new Intel Core i5 Mac mini today after the M1 Mac mini went on sale in November 2020.
The Mac Studio, I’m sure, will be a popular machine with people who can really use the processing power of M1 Max or M1 Ultra. If you place a pre-order for a Mac Studio today, it will arrive around May 20.
For me specifically, an IT professional and Apple enthusiast, $5,300 feels a bit too expensive.
But what about the “Plan B” option you were just talking about? As I mentioned back in January, without a replacement available, the options become messy top fill the hole in the Mac line up. This became apparent to me when I realized that the current M1 Mac mini tops out at 16GB of RAM. There are no option for a 32GB or 64GB Mac mini for running virtual machines on.
Yes, there are at least two rumors floating around that suggest Apple will release a 27-inch iMac or iMac Pro in late 2022 or 2023. According to the latest ‘prediction’ from analyst leaker extraordinaire, Ming-Chi Kuo, Apple will release a 27-inch iMac Pro.
According to Ars Technica’s Andrew Cunningham, Apple has confirmed that the 27-inch iMac has “reached end of life”.
Who are we supposed to believe? Apple PR or a supply chain leaker?
Basing computer purchasing decisions on rumors and what might happen in the future is, in my opinion, a fool’s game that only sets the buyer up for future disappointment
So, what will I end up doing?
In all likelihood, I’ll hate myself when I buy a Mac Studio and Studio Display. The pair are both really cool and expensive all at the same time.
Update:
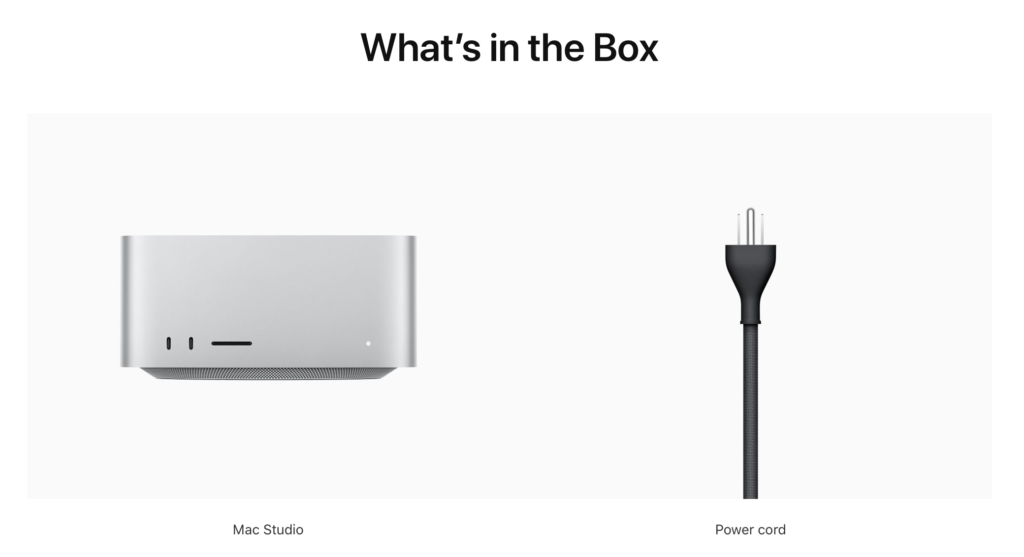
Just in case you miss it when you are hit with sticker shock, the Mac Studio doesn’t include a keyboard, mouse, or trackpad. The keyboard is another $199, while the Magic Mouse is $99 and the Magic Trackpad $149. Unbelievable.