One of the interesting features of macOS is Content Caching.
Jesus Vigo, writing for TechRepublic, states that when Content Caching is turned on, the Mac will begin storing local copies of Apple software to speed up downloads to clients on your network.
The benefit to you is that software updates for your Mac and iPhone, for example, will download to your Apple device faster. Without Content Caching turned on, if you have, say, two iPhones (persona and company issued), once cached, iOS updates are downloaded from the cached copy on your Mac rather than having to go out to the Internet twice. The more Apple devices you have, the bigger the benefit to you is.
Some of the kinds of Apple software that macOS Content Caching holds, includes:
- macOS and Mac Internet Recovery images
- iOS/iPadOS/wachOS/tvOS updates
- App Store app updates
- iCloud photo and document cache
- Apple TV screen savers
The complete list of cached content is published on the Apple Support website.
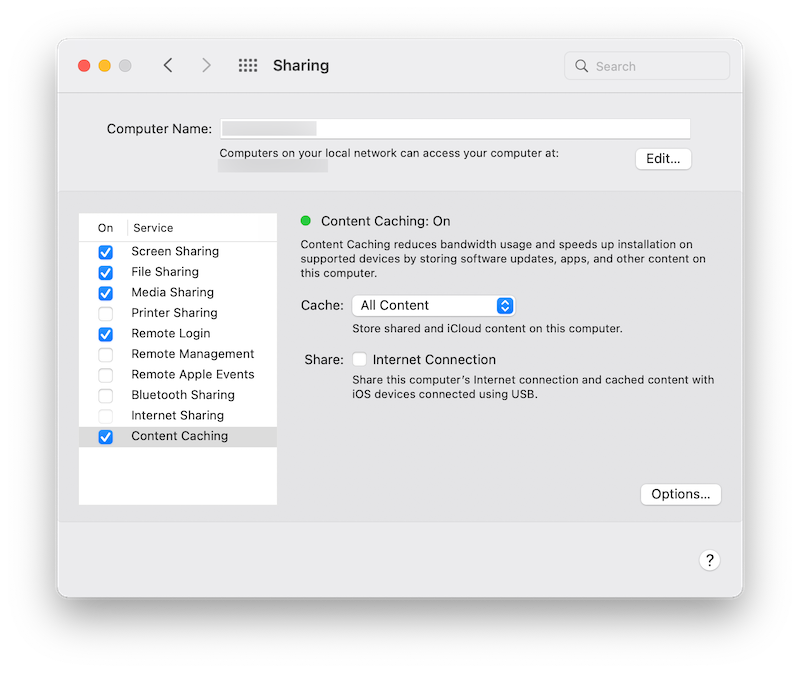
To enable Contact Caching, go to: Settings > Sharing > Content Caching = Checked
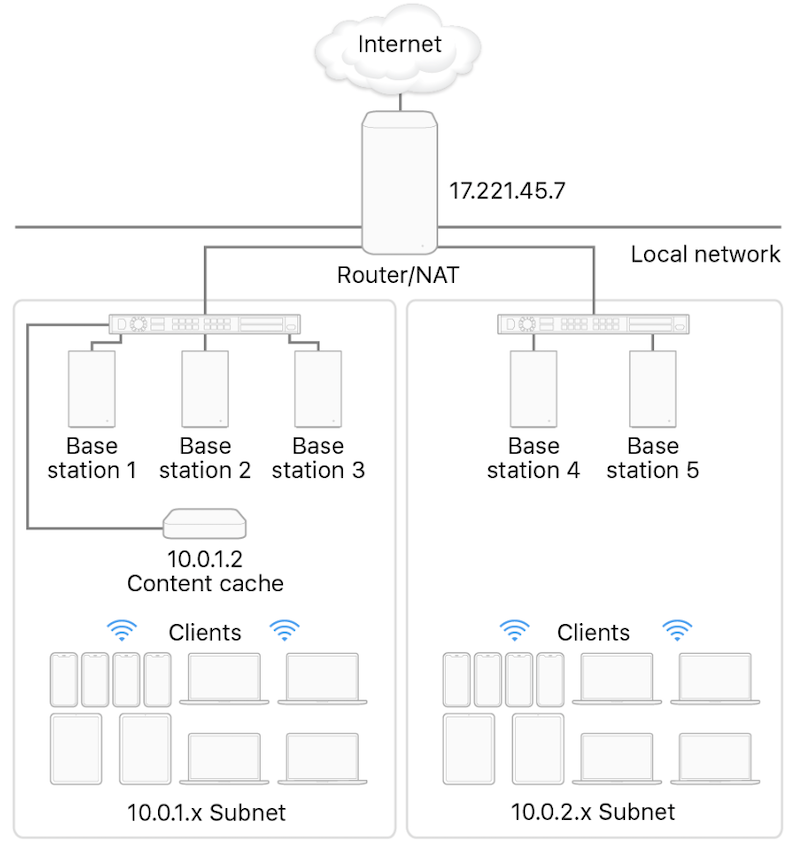
Once configured, devices running Mac OS X 10.8.2 or iOS/iPadOS 7, will be able to detect the local cache server and use the content cache. If you are setting up Content Cache for a school or enterprise network, you should use a wired Ethernet connection for better performance. If you have multiple subnets or need peer cache repositories, read the macOS What is content caching on Mac? online Help article.

Since the internal storage space on your Mac is expensive (you can’t upgrade your disk after purchasing your Mac), I decided to use the Options button to pick a USB attached external disk and carved out a 32GB cache limit.
If you are really interested, you can learn more about the Content Caching feature by clicking the question mark button in the lower right of the Settings window to bring up the macOS help. The plist file is /Library/Preferences/com.apple.AssetCache.plist.