It has been a month since I got my iPhone 13 issues resolved and about a month and a half ago since the iPhone 13 family launched. As you might recall, I had a rough go of it for the first couple of weeks. A corrupted iCloud backup and a bad Face ID senor array can do that. Now that I have everything reconfigured and back to normal and I have had a chance to really live with my iPhone 13 Pro Max, I wanted to give you my opinions on this year’s largest flagship smartphone.
The Hardware
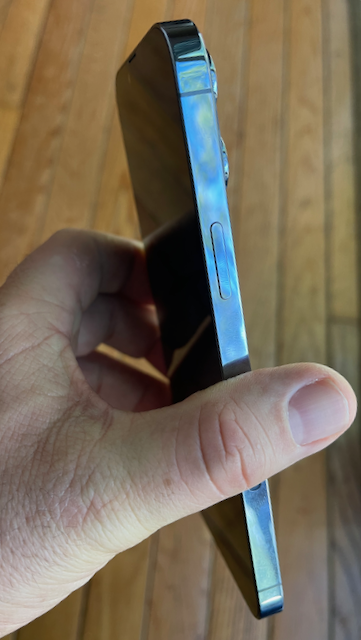
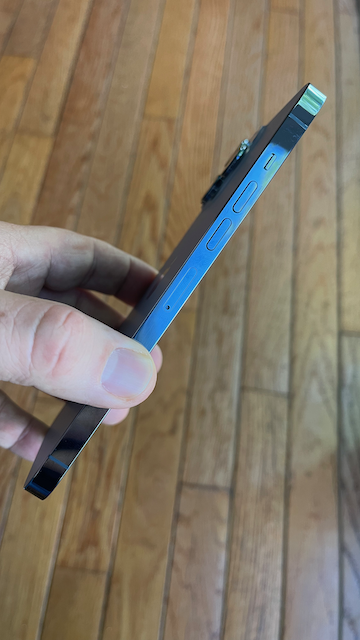
Year-over-year, iPhone 13 Pro Max looks and feels just like last year’s iPhone 12 Pro Max. That’s not a knock on the Apple industrial design. I love the iPhone 4/iPhone 5 style flat sides. In my opinion, I feel that I can get a better grip on iPhone 13 Pro Max than I could on my iPhone X-series and iPhone 11 Pro. I used to send those iPhones flying off the table trying to grab them. That has not been true with iPhone 13 Pro Max. I can get a firm grasp on it with the flat edges. Looking ahead, I’m relieved to hear that early iPhone rumors for the 2022 iPhone will keep the flat sides.
This year’s iPhone 13 Pro Max includes a new 120Hz ProMotion adaptive refresh screen. This feature debuted with the 2017 10.5-inch iPad Pro and has taken until now to come to iPhone. When I got my iPad Pro, the ProMotion screen was really noticeable. Everything on that iPad Pro seemed buttery smooth. On iPhone 13 Pro Max, for me, the change is less noticeable. Maybe that’s because both my work and personal iPad Pro tablets, that I use all the time, already have ProMotion and my eyes are used to it.
One area where the variable refresh rate of the display and the new A15 Bionic CPU shine is in its battery efficiency. The battery savings and my personal device runtime is incredible. As a light user of iPhone, I can get days out of a single charge. Your milage will obviously vary. For me, I have an iPad nearby when I’m home, that is my go-to device. If I want to do work, I turn to my iMac. But, when I’m on the go, my iPhone is front and center. While traveling, I listen to a lot of podcasts or music. Both of which are downloaded locally to my iPhone. I’m only streaming music from my iCloud Match or Apple Music subscriptions about 25% of the time. And activity that is done with the screen off. If I’m driving, my iPhone is connected to a Lightning adapter for CarPlay and will charge on my short commute to and from work. As a result of my limited use of iPhone with the screen on, I can easily get two days of use out of a single charge.
Call me crazy, but when I got my first smartphone, a Palm Treo 600, Verizon charged a lot of money for a small amount of cellular data. Battery life wasn’t great back then, either. I learned to avoid suffering cellular data overage fees and have enough battery to make it through a day, needed to hoard battery and limit cellular data usage. It’s 2021. I need to learn to live a little. iPhone 13 Pro Max has tons of battery and ‘unlimited’ cellular plans are flat rate.
All of this to say that I am really pleased with the new ProMotion display and all of the battery saving features of the A15. Rest assured that when it’s needed, the A15 CPU and ProMotion will deliver the goods.
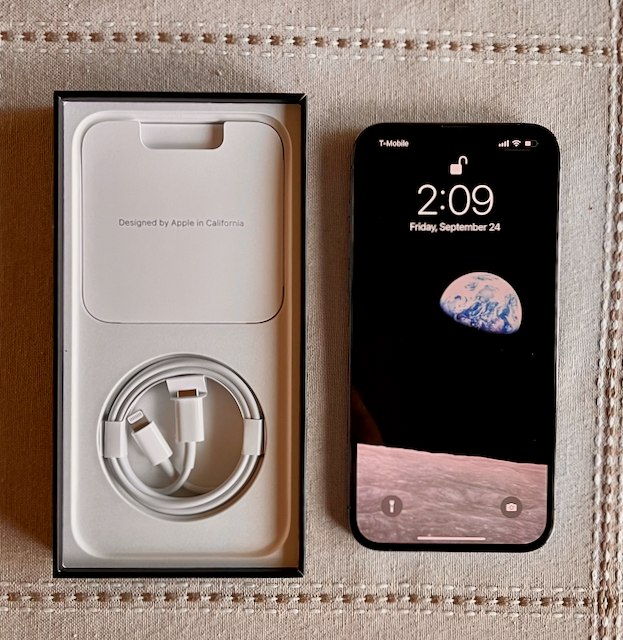
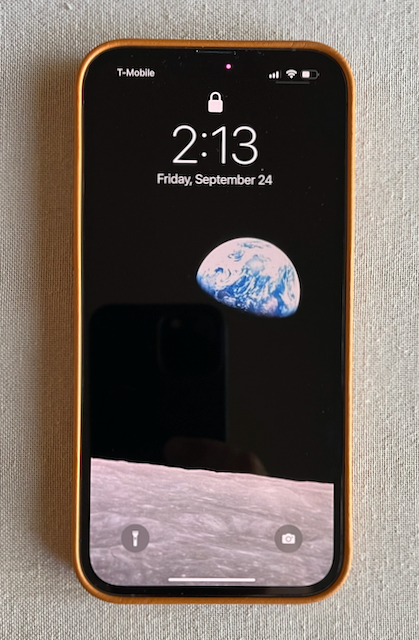
I should also mention that current 5G cellular modem and antennas on the Pro Max are good. I notice that I am getting more 5G service in more places that I go with better download speeds. I’m sure that this improvement is also to T-Mobile rolling out improvements to their network. (Yes, I get it. 5G got real and that Sprint is now a part of T-Mobile. Verizon and T-Mobile, you guys are the plumbing. Just serve up data quickly and reliably and I’ll be happy.)
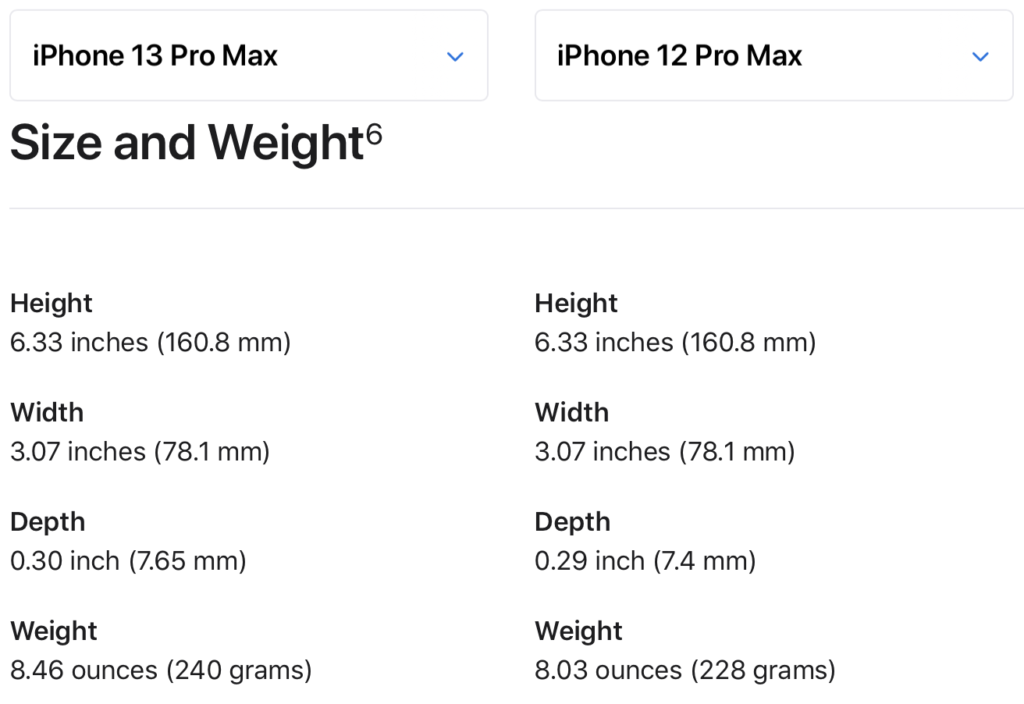
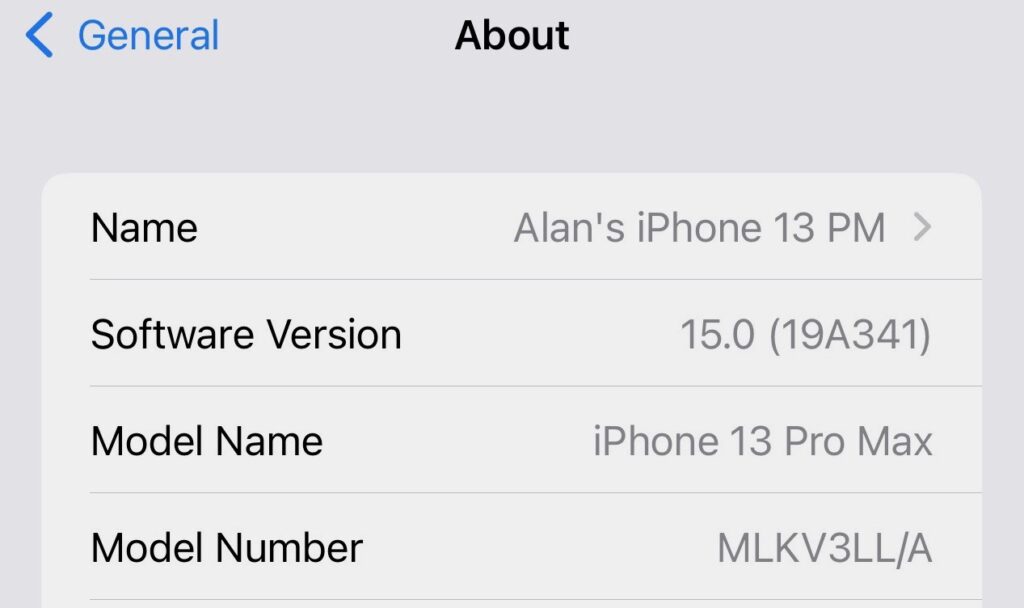
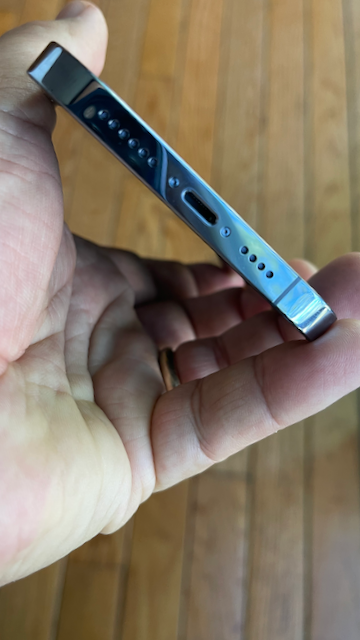
According to the Apple iPhone specifications comparison page, the differences between this year’s Pro Max and last year’s Pro Max are almost identical in size and weight. The iPhone 13 Pro Max is 0.1 inch and 43 ounces thicker and heavier. In a Pepsi Challenge taste test of sorts, where my wife handed me both iPhones Pro Max with my eyes closed, I could not distinguish between the two iPhones. Until I felt for the camera bump, which is even more of a camera plateau than last year.
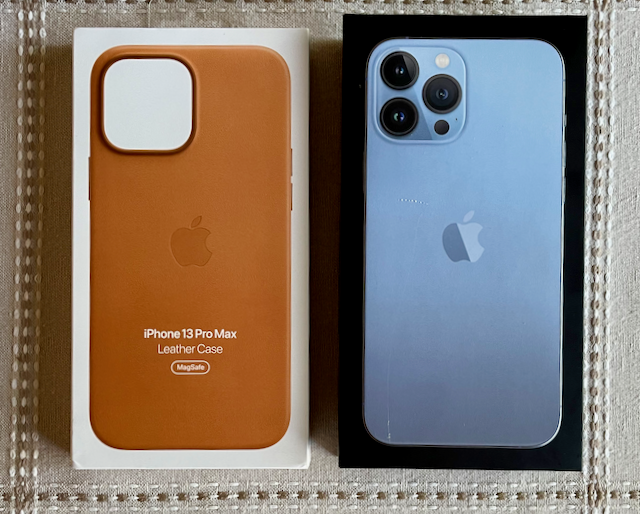
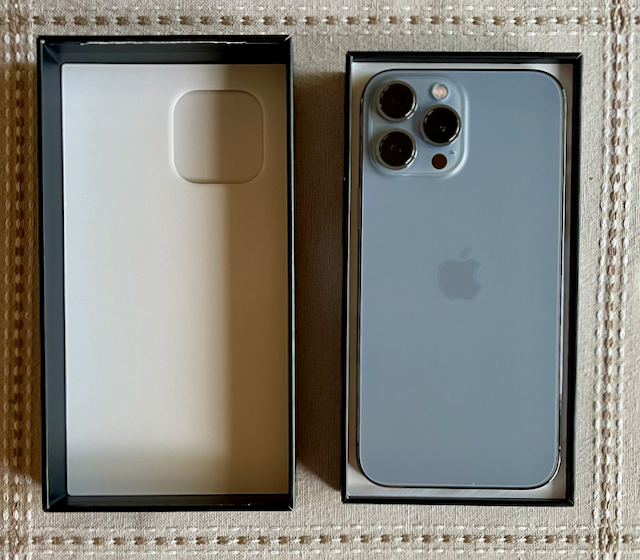
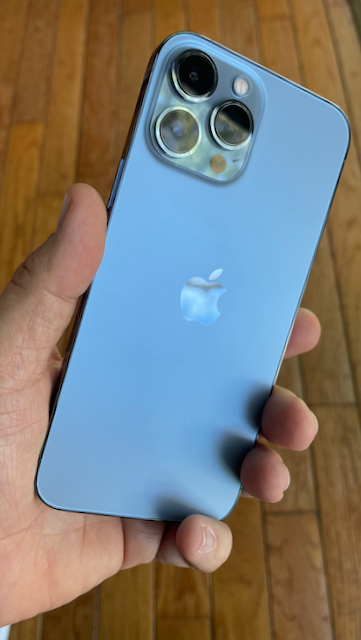
Now that I’m living with iPhone 13 Pro Max as my everyday iPhone, I’m really not happy with the color options on the ‘Pro’ iPhones. My favorite color is blue, more specifically, a deep navy blue (aka Grassia Standard Blue). Last year’s Sierra Blue on the iPhone 12 Pro Max was close to that. Sierra Blue, is a much lighter blue than Sierra Blue. In my opinion, to my eyes in most of the lighting conditions that I find myself in at home or in the office, Sierra Blue looks more like battleship grey. I’m disappointed about that. Holding my iPhone 13 Pro Max up to the screen on my iMac with the Compare iPhone Models page, I feel that the on-screen Sierra Blue is more ‘blue’ than the phone I’m holding in my hand. If I wanted a grey iPhone, I would have opted for this year’s ‘black’ color, which is called Graphite. Graphite, in my opinion, is a better color in the hand than Sierra Blue is. Looking ahead, unless I am really blown away by the color choices for the 2022 iPhone line up, I think I will go with a Silver / Starlight / White color. I have a love/hate relationship with the 2021 Apple Leather Case selection this year too, but more on that later.
The Camera System
iPhone 13 Pro Max has larger camera lens that require a larger over all surface area on the back of the phone. Referring back to the comparison page, you can see that the aperture values have changed between last year’s iPhones. I’m not a camera buff, so I really didn’t know if a higher or lower number is better or not. I found Christopher Crawford’s aperture tutorial to be helpful here. Basically, a camera’s aperture helps control focus on the subject. Depth of field relates the distance away from the camera lens that the subject is and at what point the back ground and foreground are in focus relative to the subject. The more you know, the better pictures you can take. For me, I have moved to the iPhone as my primary camera for taking pictures. To my untrained eye, iPhone 13 Pro Max photos taken in good lighting look fantastic. In worse lighting, or low lighting, your experiences will vary depending on how skilled of a photographer you are.
Using what I learned on Crowford’s site, the iPhone 13 Pro Max’s wide and ultra wide cameras have gotten slight improvements in aperture, decreasing to f/1.5 and f/1.8 from f/1.6 and f/2.4, respectively. The telephoto lens on iPhone 13 Pro Max, technically, has a higher aperture rating of f/2.8 over the f/2.2 rating on the iPhone 12 Pro Max. However, iPhone 13 Pro Max has a telephoto optical zoom rating of 3x where as iPhone 12 Pro Max has an optical zoom rating of 2.5. In some test photos taken on a sunny day at the local sea wall or pumpkin picking on an overcast day, I felt the photos looked good to my untrained eye.

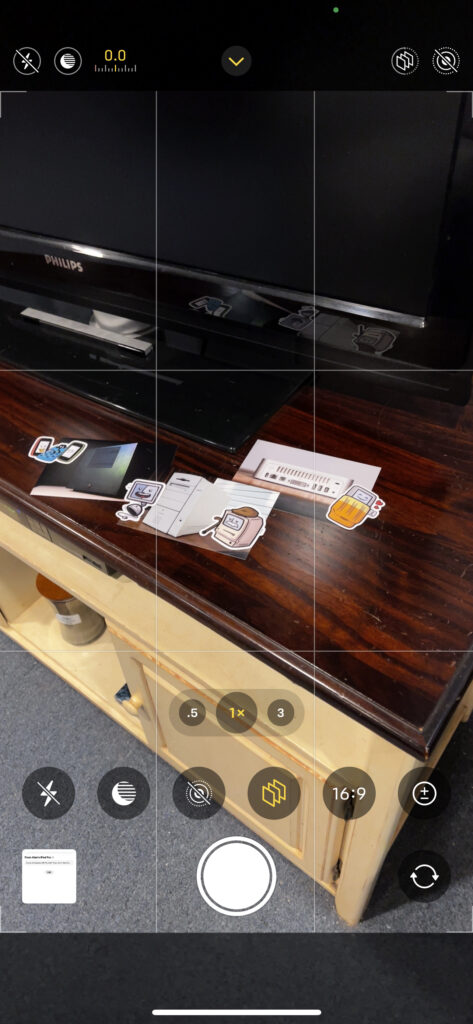
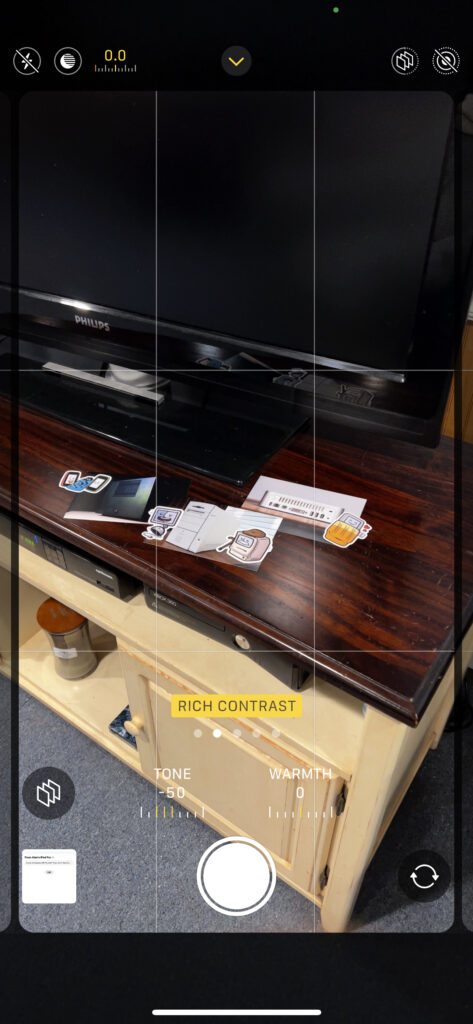
One noticeable improvement in this year’s iPhone Pro Max is the inclusion of Photographic Styles. I have been an iPhone photo “purist” in that I don’t generally tweak photos aside from cropping and the use of the automatic enhancement tool. Photos taken of the kids at the farm while picking pumpkins, I felt, looked better in the Rich Contrast setting. In this mode, photos taking with iPhone have a Tone value of -50 and a Warmth value of 0. These values cannot be changed once the photo is taken. They are in effect “burned” into the photo, relative to the Standard Apple photographic style. In my opinion, the extra color saturation looks better and leans toward the higher saturation styles that are default on Android smartphones.
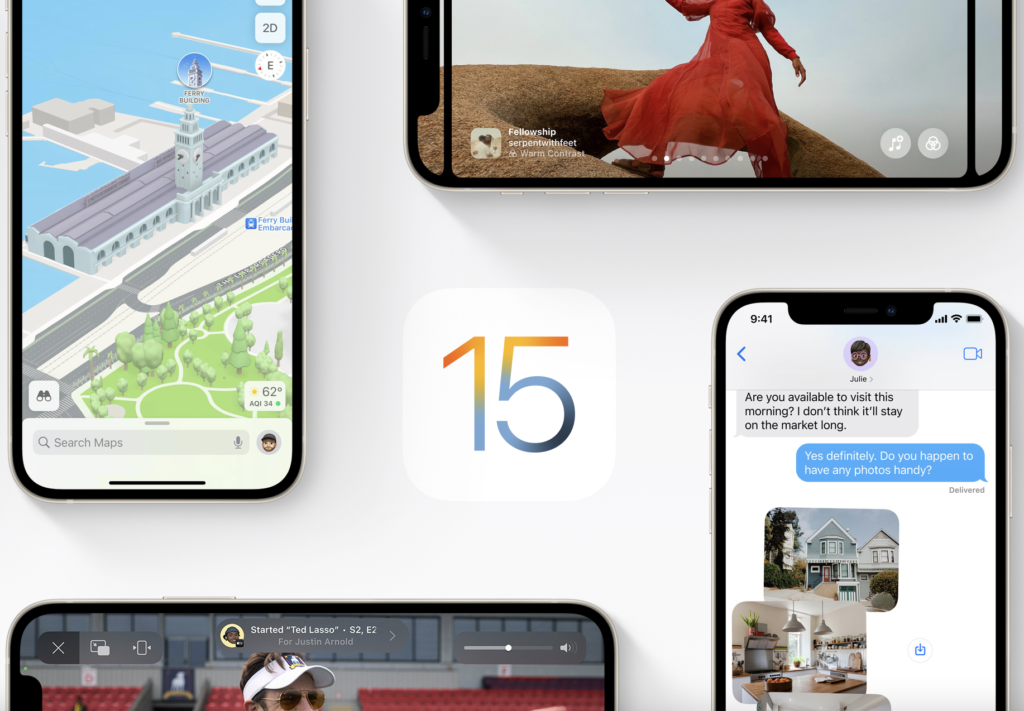
iOS 15
In my daily use of iOS 15, I don’t feel like there are many major improvements in how I use my iPhone. There are lots of quality-of-life improvements over iOS 14 that I do appreciate. I prefer iOS over Android for its fit and finish, but I say for the security features. While still in beta, I have found that the new iCloud Private Relay feature works well. As the name implies, information sent from Safari is relayed to two different secure servers. The first relay is data sent from Safari on your iPhone through your network provider and on to the secure servers run by Apple. In this first ‘hop’, Apple and your service provider and Apple know your IP address, which is a unique identifier, however, DNS traffic is encrypted so that neither Apple nor your service provider know which website was requested. The second ‘hop’, takes the encrypted DNS information, decrypts it, generates a random IP address, and then forwards the request on to the web server of the site you are trying to visit. This feature isn’t exactly like a VPN service, but it does help mask who is requesting what website information. If you squint, it sure feels to me, like iCloud Private Relay is setting the foundation for an eventual iCloud or Apple One VPN service. Which brings me to the thing that I don’t like about Private Relay. You have to pay to get this feature, even though it’s baked into iOS 15. Blame Tim Cook’s relentless push into services and the drive to extra even more ‘value’ (read: revenue) from Apple’s customers. On the positive side, any subscription to an iCloud plan, even the $0.99/mo plan grants you access to Private Relay in addition to extra iCloud storage space. $12/yr is well worth it in my opinion, but I’m not happy about it.
I’m also glad to see that Apple walked back many if the UI changes that were first shown off at the 2021 WWDC conference and shipped an update to Safari that mostly looks and works like previous versions. I don’t use the new Tab Groups feature, but if that’s your thing, I’m good with it. It took me a while, longer than I want to admit, to figure out how Apple scrambled the Safari open tab synchronization feature. Rather than seeing a list of open tabs on other devices that have open Safari tabs, you now get a section on the Safari Start Page and a drop down pick list of open tabs. Previously, in iOS 14, this information was presented by a list sub-divided by a device section heading. I felt silly for not realizing how this page changed right away. Making their users feel bad about not knowing how to use their software is not a good look for a company like Apple.
Some people like to dunk on the Mail application because it has not received any major new UI and functionality features in a long time. I’m fine with that. I use the stock Apple Mail application on my iPhone. I don’t need any email-as-a-task-manager, snooze for later, or Inbox Zero features. Other folks like that stuff and more power to them. I’ve clearly crossed into cantankerous old man territory. For me, email is a solved problem. One feature in iOS 15’s Mail app that I really do like is the new remote image load blocking. In attempt to extract as much information about you as possible for marketing and tracking purposes, the insidious concept of the tracking pixel was created.
A tracking pixel is a special 1×1 pixel graphic that is loaded when a user opens an email or web page. They are designed to be imperceptible to users. Mail in iOS 15 now blocks the loading of remote images in email, essentially blocking the tracking pixel from loading. Users now get a small notice that all remote images in HTML-based email have been blocked and gives you the opportunity to load them if you choose. Nice.
The Accessories
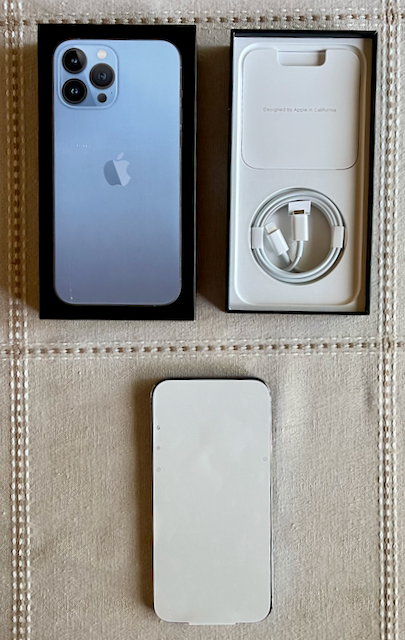
I’m still happy that MagSafe is a thing, but aside from the Apple MagSafe Charger puck that I purchased last year, I don’t have any other MagSafe accessories aside from the Apple Leather Case. Since the MagSafe Charger will cause a ring to be imprinted on the leather, I take the case of before charging my iPhone.
Speaking of MagSafe, I am considering trying a MagSafe Wallet now that it has that new Find My integration. In my opinion, the MagSafe Wallet ($59) is a bit on the expensive side, and I’m still not convinced that this is the product for me.
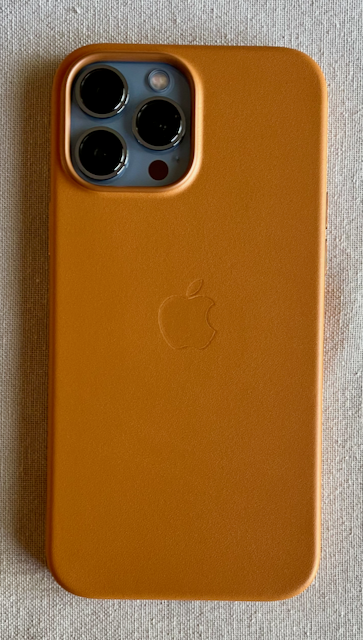
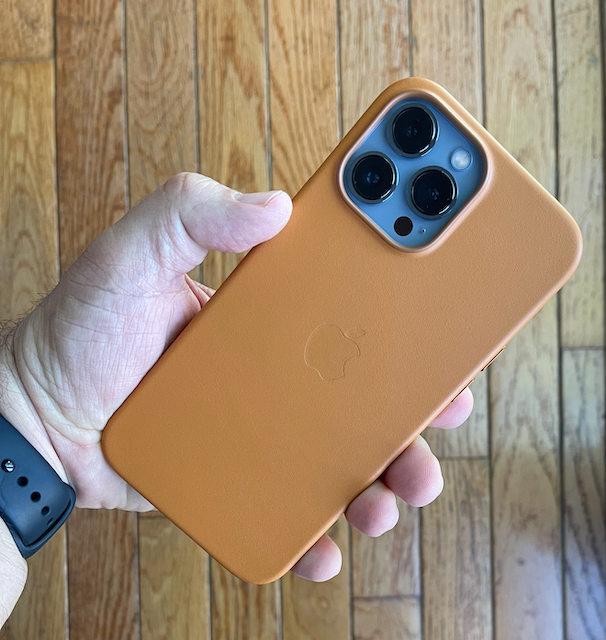
And that brings me to the Apple Leather Case with MagSafe selection for iPhone 13 Pro Max. They are the same $59 dollars as the Apple Wallet. I prefer the Apple Leather Case for my iPhones over the Apple Silicone cases. The Silicone cases, in my opinion, collect too much line and have too much friction when being slipped into and out of dress pants pockets. So much so, that in my experience with the silicone cases over the years, I am more prone to dropping my iPhone while putting it away or taking it out of my pants pockets at work. But, Apple, what is going on with the color selection this year? I really don’t like any of the Apple Leather case colors at all. Taken with my dissatisfaction with the iPhone 13 Pro Max Sierra Blue color, I’m not liking the color situation this year. I have both the Apple Leather Case in Golden Brown and Midnight. I like the way that they feel with the metal buttons inset in the case. Given all that is going on in the world with 2020 and 2020: The Sequel, for my own mental health, I want more bright fun colors on an iPhone that has all the features. Seriously, Apple, I want all the features in fun colors. 24-inch iMac colors. Go!
Wrap Up
Overall, annoying color choices aside, I am happy with my iPhone 13 Pro Max purchase. Did I need to upgrade my iPhone 12 Pro Max? Absolutely not. My previous iPhone 12 Pro Max and iPhone 11 Pro are still perfectly fine iPhones in 2021 and will be for years to come.
If you have an iPhone XS, iPhone XS Plus, iPhone XR, iPhone 8, or earlier iPhone, and you have an itch to upgrade, now is a great time to do it. iPhone 13, iPhone 13 Pro, and iPhone 13 Pro Max are great phones. Buy the best iPhone you can to meet your needs and then enjoy using it for years to come.