For my next video, I try to remember how to setup and use a 37 year old dot matrix printer. How many mistakes can I make trying to print a short ClarisWorks 2.0 document from a Mac Classic II?! You will have to watch to find out.
-
-
Rough Road Ahead for Wireless CarPlay Upgrades
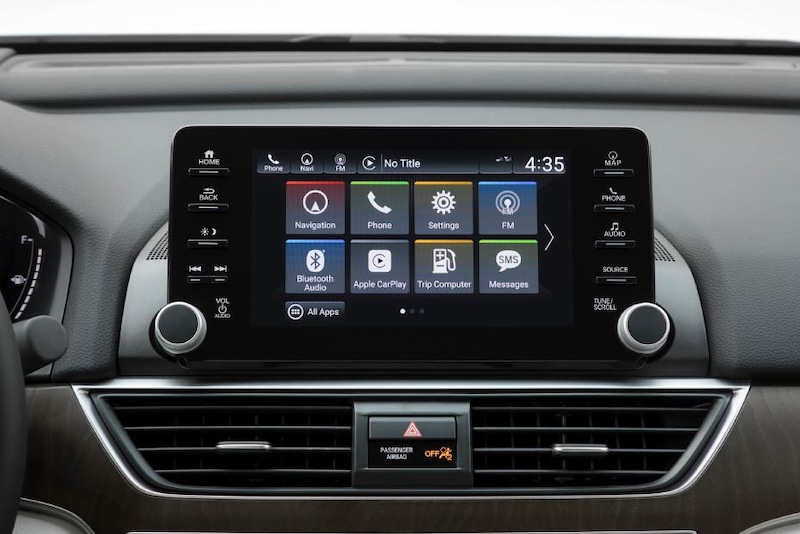
Photo Credit: Honda.com Last month, Honda announced that the company would make a dealer installed upgrade available for model year 2018 – 2022 Accord vehicles to add Apple’s wireless CarPlay feature. (The same upgrade adds support for wireless Android Auto also.) The cost of the upgrade kit will be $112 MSRP plus technician labor charges.
This software only upgrade is great news for owners like me who have a 2019 Accord with wired CarPlay. I mean, a wire! In 2024! The struggle is real.
To me, the press release announcing the upgrade kit is validation of what I had expected all along: the 2019 Honda Accord line of vehicles had all of the internal hardware that could have supported wireless CarPlay, but that Honda chose not to make the feature available. Whatever the internal decision making process might have been, a global pandemic, snarled computer chip production lines, and waitlists for a new Accord likely convinced Honda to change their thinking on older model upgrades.
From the official press release, Honda states that “[t]his quick software update enables customers to leverage hardware already in their Honda vehicle to enjoy seamless connectivity through wireless Apple CarPlay” and that this upgrade is “a key strategy in pursuit of our goal to have zero environmental impact by 2050.”1
Getting Ready for the Upgrade
If you are reading this blog, you know I’m a computer nerd. You’re probably a computer nerd too. I have no idea about car people react to changes like this or how quickly the network of Honda dealers could roll out an upgrade like this. My Accord needed an oil change, so I called one of my local dealers and asked if they could do the oil change and the software upgrade at the same time. I was assured that the upgrade could be done, but that I should bring the car in during the week to avoid the Saturday rush. The cost of the software upgrade would be $120. I made the appointment for two days later.
Service Day
Potholes started appearing on the information superhighway when I arrived at my dealer. First, I was told that I needed to leave the car for the day as the software upgrade would take several hours because the update needed to be downloaded to the car via the satellite radio connection. That didn’t sound like a “quick software update” to me. Still, I really wanted wireless CarPlay in my Accord, so I agreed.
After getting a ride to work, the dealer’s service center called me to tell me that the total cost of the upgrade would be $270! The price increase was due to the wireless CarPlay upgrade kit software license ($120) plus one hour of labor ($150). I asked if I could buy the upgrade kit and do it myself and was told that it was a dealer-only install option. I was annoyed, but the excitement and satisfaction of having CarPlay in my Accord overtook me and I approved the work.
It Gets Worse
About three hours later, I received another call from the dealer. Things were not good. I was told that the software upgrade was attempted on my Accord via a USB flash drive and that it had failed. The dealer called the Honda support center, and they weren’t able to resolve the issue either.
Asking about the software upgrade process, I came to learn that this wasn’t a patch to CarPlay, but a full infotainment system OS upgrade to a newer version of Android Automotive – the software that many car manufacturers use in their infotainment systems. Android Automotive is able to “project” CarPlay and Android Auto (a completely separate CarPlay-like feature for Android smartphones) on the in-vehicle infotainment screen(s).
It was the OS upgrade that crashed and couldn’t be restarted. In its current failure mode, the radio head unit was completely unresponsive and would not turn on. In computer terms, we call that “bricked”. None of the vehicle functions that use the infotainment system worked. No AM or FM radio. No satellite radio. No backup camera. No auxiliary input. No wired CarPlay. Obviously no wireless CarPlay. No iPhone charging. Nadda. In other words, “She’s dead, Jim.”
This was not good. Seeing out the back window of a 2019 Accord is difficult and, in my opinion, really requires the assistance of a backup camera. Since they couldn’t get the radio head unit to respond to any maintenance commands and could not turn it on, the entire head unit needed to be replaced.
Thankfully, it will only be about a week before the replacement service can be performed. I couldn’t help myself. I had to press the poor service department staffer harder. “This replacement head unit is going to come with the new Android Automotive software preinstalled so that I will have the wireless CarPlay feature, right?” We both knew that the service staffer couldn’t answer the question and that the head unit that would be pulled off an inventory warehouse shelf wasn’t going to have the upgrade.
Furthermore, I was later told that it took three attempts to upgrade another compatible used Accord on the dealer’s lot and that Honda wanted all dealers to install the upgrade on every compatible used Honda Accord in inventory.
Based on the headaches I caused the dealer’s service department crew; the general manager told me that he was shutting down all future upgrades and was not installing the software update on any other Accords in their inventory.
So Now What?
What this story reveals is that software is hard. It’s hard for nerds like us. It is harder still for service techs who aren’t properly trained on how to install and support the software. And it is absolutely disastrous for dealers and customers when the software is so poorly tested that it is bricking the entire infotainment system in such a way that Honda has to cover the cost of replacing them.
For now, I am driving my Accord around and singing to myself. I’m also backing up carefully. Hopefully, the replacement part(s) will arrive at the dealer this week and we can schedule another full day of service to have the new unit installed in the car.
I would have loved to have seen the documentation and the upgrade process, but the general manager wasn’t going to let me anywhere near any of the official upgrade materials.
I will post a follow up when the issue is resolved. In the meantime, I need to get working on my singing voice.
- By 2050?! How many of the current automobile executives do you really think will still be working at Honda in 2050? Talk about kicking the can down the road. Environment?! It’s someone else’s problem. And that’s the problem – no one wants to take up this issue now. ↩︎
-
Thank You x 2.3k!
I wanted to stop and thank all of you who watched the heck out of my Atari 2600+ video that I posted last month!
You folks went absolutely nuts and pushed my view count up to 2.3k, which makes it my best watched video on my channel so far.
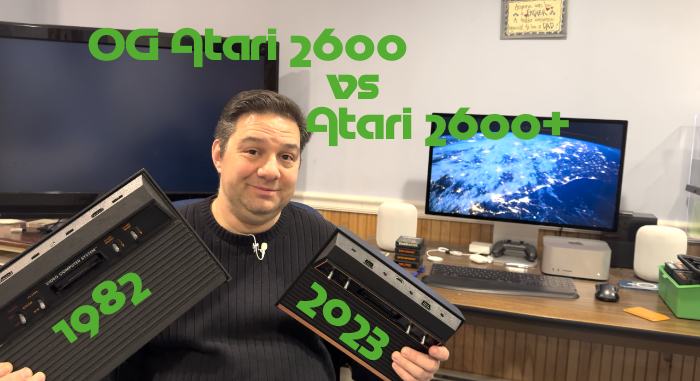
I have been having a blast planning these old games and I have purchased many more since the video was released, brining my total cart count up to 32.
I will have some more Atari content in the future so get subscribed and stay tuned for that.
Until then, thanks for watching! 🙏🏻
-
Apple Vision Pro Pre-Orders Start Today
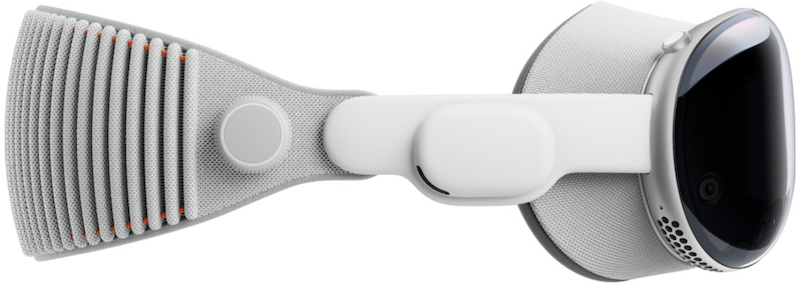
At 8:00am this morning, Apple began taking pre-orders for the new Apple Vision Pro, their new mixed reality spatial computer. Worn over your face, Vision Pro is able to add Apple software into your environment while allowing you to also interact with your environment and the people in it. Unlike a Mac that uses a mouse or an iPhone that uses touch, Vision Pro is controlled with your eyes, hand gestures, and your voice.
Rather than try to explain it, you can now visit the new Vision Pro Guided Tour website.
The pre-order process was pretty smooth. Unlike this past September’s iPhone 15 launch, I was able to get my pre-order in pretty quickly. The iOS Apple Store app promptly opened at 8:00am ET, I was able to pick my SKU, enter information about my eyeglasses prescription, and set the location, date, and time for my in store fitting and pick up. The whole thing was over in just about five minutes.
So, what did I get you ask?
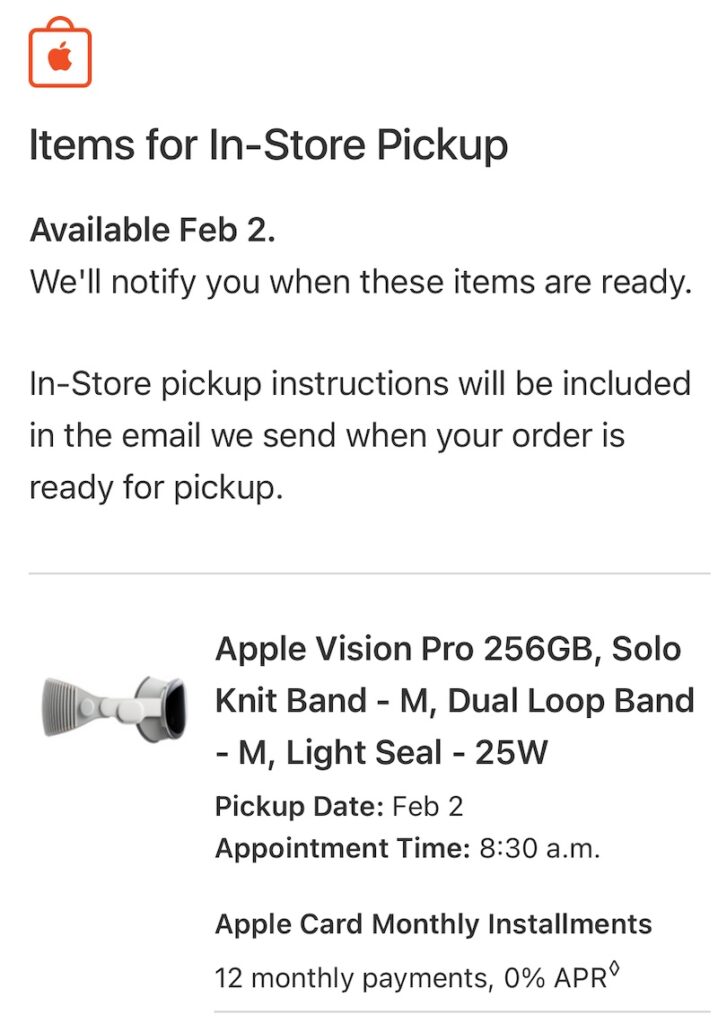
After my Mac Studio with Studio Display setup, the Apple Vision Pro is the second most expensive piece of gear that I’ve purchased. To keep costs as reasonable as possible, I chose the least expensive Vision Pro possible: the 256GB storage model. I also told myself that I wasn’t going to buy the rumored OLED iPad Pro this year because I was buying Vision Pro. I choose the 256GB model based on the storage usage on my iPhone. If I end up taking a lot of spatial videos, I’ll have to offload some of them if I start to run low on space.
There are other accessories that you might want to consider if you are thinking about buying an Apple Vision Pro. I also purchased the $49 Belkin battery clip – mostly because I’m an idiot – but I wanted to make sure that I didn’t catch the power cable on something. You can also purchase a $199 backup battery. Keep in mind, that the most optimistic runtime for Vision Pro is 2.5-hours. If you are going to be traveling on a plane and what to use Vision Pro, you might want to get a second battery. Me? I’ll risk it for now. The final accessory that will likely be a popular one, and one frankly, I feel should have been included in the box, is the $199 Travel Case. I haven’t purchased it yet, but I have a feeling come Feb. 9, I’ll end up buying it in the store.
I know that I said I wasn’t going to buy one of these, but a have to say, the FOMO is real.
Congratulations to everyone else who bought a Vision Pro with me today. I hope we really enjoy it!
-
OG Atari 2600 VCS vs Atari 2600+
For Christmas this year, I gave myself an Atari 2600+! Little did I know, that my pet soiled original Atari 2600 – that I left for dead – still freakin’ worked! Watch the 2600’s composite video go up against the Atari 2600+’s HDMI upscaled graphics!
For more Atari composite video shenanigans, check out BigBadBiologist’s Atari 2600 Composite AV mod video.
-
#DOScember Floppy Drive Fail
DOS machines aren’t Macs and this video proves it! Come watch me bang my head against the wall while I try to get a 5.25-inch 360kb floppy drive to work inside a 2005 Dell Optiplex GX520 mini-tower PC.
-
HomePod mini Troubleshooting Hijinks
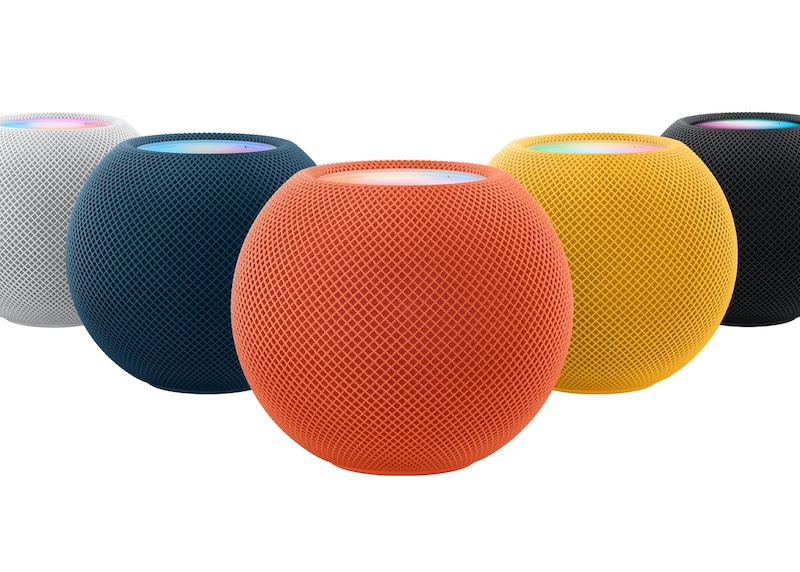
Yes. I admit it. I bought another HomePod mini. This time, I wanted to do something very specific with it – create a stereo pair with my older HomePod mini and use that stereo pair with my Apple TV as replacement speakers when watching movies and TV shows that I purchased from the thing formerly known as iTunes.
1While attempting to add my new HomePod mini to my digital home setup in the Home app, my new HomePod was getting stuck at the “Downloading” or “Configuring” stages. The other four Home Pods – two original “biggies” and two current HomePod minis – joined the Home app with no issue. But not HomePod #5. This is a common occurrence based on the Apple support forums threads and how-to explainers.
Adding to the knowledge base that is the Internet, here is how I fixed my issue with a current generation HomePod mini (2020), iOS 17.2.1 (21C66) on iPhone 15 Pro, and Mac OS Sonoma 14.2.1.
- Unplug all of the Home Hub devices (HomePods and Apple TVs) in your setup except the new HomePod and the device you want to be the “active” (my word) Home Hub. You can leave other HomeKit and Matter devices like lights and thermostats connected.
- Load the latest version of HomePod OS on the stuck HomePod. Depending on how your HomePod is stuck, you may need to hard reset it first. Then, connect the HomePod USB-C cable into your Mac. An orange/red light will start swirling on top of the HomePod.
- After a few minutes, double-click the Macintosh HD icon on your desktop to open a Finder window. Click on the HomePod text link in the left column.
- Use Finder to Restore the HomePod. Full directions are available on Apple.com. In my case, the HomePod shipped with HomePod OS 15.4 (released 3/14/22) meaning my new HomePod mini was sitting on a shelf for a long time. The upgrade process to HomePod OS 17.2 took less then 10 minutes.
- Disconnect the HomePod after the upgrade is complete. I put my HomePod mini back on the TV stand. Unplugging and replugging in power restarted HomePod mini. I also plugged in the HomePod mini I wanted to make the other half of the stereo pair.
- Using my iPhone, run the HomePod setup wizard again.
- After a successful setup, you can then go back around your home and plug in your other Apple TVs and HomePods.
All told, it took me six attempts and several hours to get everything setup. After creating the stereo pair “TV Pods”, I ended up having to reboot both HomePod minis, the family room Apple TV, and my iPhone 15 to get everyone on the same “page” an agree that there was in fact a stereo pair of HomePod minis called “TV Pods” made of up “Left TV Pod” and “Right TV Pod”.
The entier process was messy and very frustrating for a day after Christmas project. In my opinion, HomePod (hardware, software), Apple TV (hardware, software), and Music (app, service) are third-class citizens after iPhone, subscription services revenue, and the Mac.
Hopefully, this post will help save you some time and aggravation setting up your next HomePod.
-
Apple App Clips in the Wild
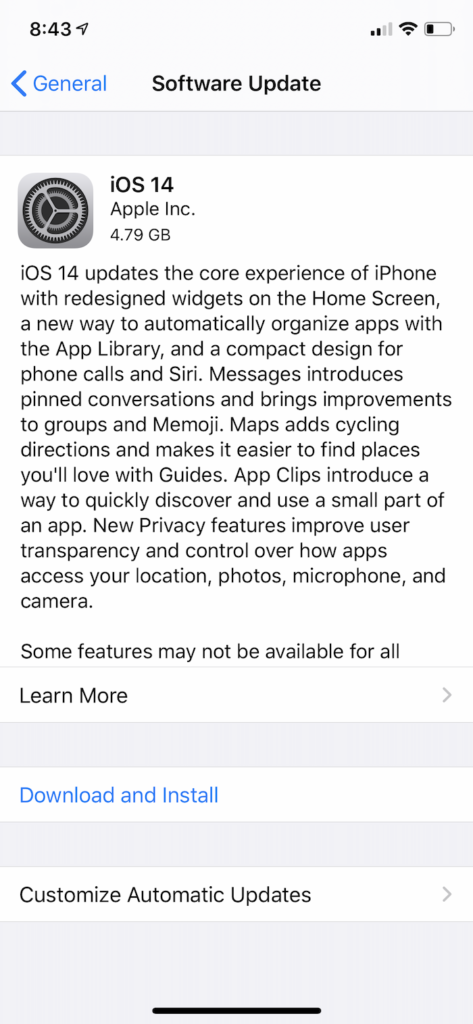
You will be forgiven if you don’t remember App Clips feature that was released as part of iOS 14 (Sept. 2020).
App Clips is a feature that loads a small sub-set of functionalities of apps in the App Store to complete a transaction without having to find, install, setup, and then use the app. The examples often cited by Apple include transactions like paying for take-out meals, renting bikes or scooters, or setting up a home automation device.
The whole point of an App Clip is to speed things up for customers who do not have your app installed. To Use an App Clip, you pull out your iPhone, open the Camera app, and point the lens at a QR-like code that only Apple would take that the time to make look good and work well.
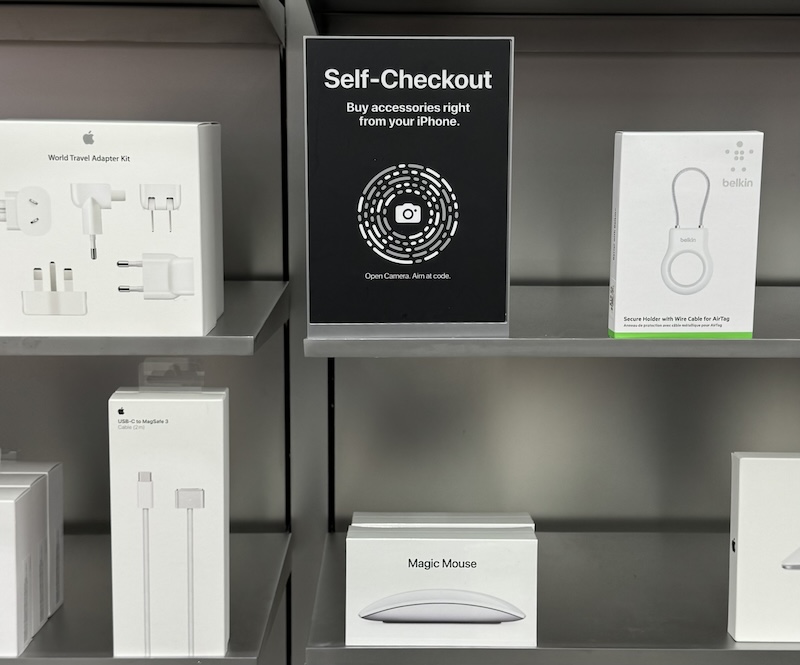
Up until now, the only place that I have seen App Clips used was in Apple Stores on the accessories walls.

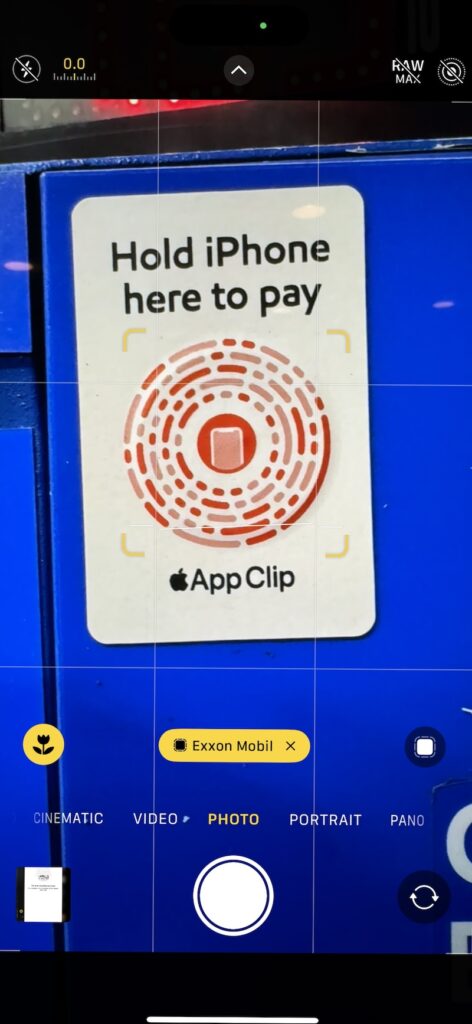
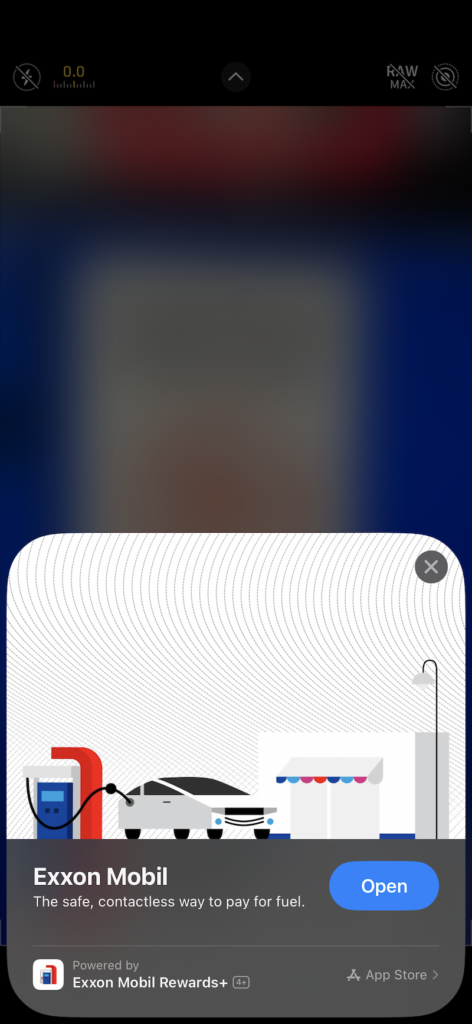
While running around in the pre-Christmas hustle and bustle, I needed to stop to put gas in the car. While filling up at an area self-service Exxon Mobil station, I noticed an App Clip sticker on the pump.
Here’s how the process works:
- Scan the App Clip icon with the Camera app.
- Tap on the yellow Exxon Mobil pill button to start the App Clip.
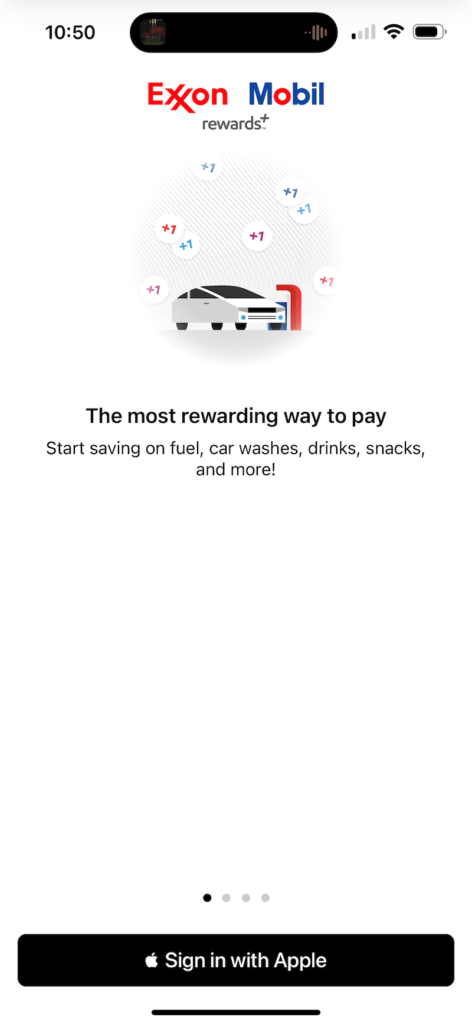
- Tap Open.
- Use Sign In with Apple to use your payment options in Apple Wallet.

One real world use for App Clips that I wish was available is when I need to park my car downtown. There have been two occasions this month and at least one next month were I will need to park my car in a public parking garage. It would be really nice to have the App Clip option to pay for parking. Unfortunately, the company that manages this parking garage hasn’t added App Clip support to their app yet. -
Merry Christmas

May the new born Christ Child bring peace, love, and mercy to you and your family. Amen.
Merry Christmas and Happy Holidays from your friends at Smartphone Fanatics!
-
Happy Thanksgiving

This year, I am thankful for my family and friends who are helping me through a difficult time.
I am also thankful for the many things that I have, including my healthy, and my job, and you, the reader of this blog.
Have a Happy Thanksgiving!
-Alan