I don’t consider myself superstitious. But for iPhone 13, I was certainly bit by unlucky 13 during this year’s iPhone upgrade. The last 18 days have been a rougher road than usual to get everything working on my new iPhone.
Waiting a long time for Quick Start to finish migrating data, defective hardware, iOS 15 bugs, and corrupt iCloud data rained on my annual iPhone upgrade parade.
This post will list out the issues that I ran across and what I did to get around them.
iPhone Backups and Restores
In most cases, using and iCloud backup is the quickest and easiest way to migrate from your current iPhone to your new iPhone. There are a few options for backing up data. The oldest backup method is to back up to the Finder on macOS or wtih iTunes on Windows. Over the last couple of years, Apple has really upped its data migration game with the Quick Start feature. Performing a restore from iCloud is the quickest way to get started on a new iPhone. This is especially true if you are upgrading on iPhone Launch Day and want to start playing as quickly as possible. In years past, I have used macOS and iCloud backup methods.
This year, I didn’t want to wait for my apps and data to download from Apple’s servers. Nope. This year, I wanted everything moving from my iPhone 12 Pro Max to my new iPhone 13 Pro Max over a wire. No delays from congested Wi-Fi networks for me.
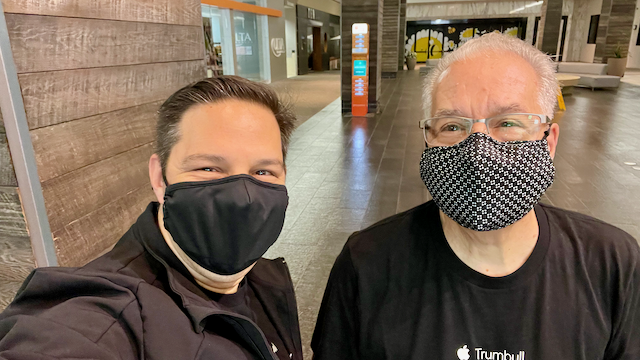
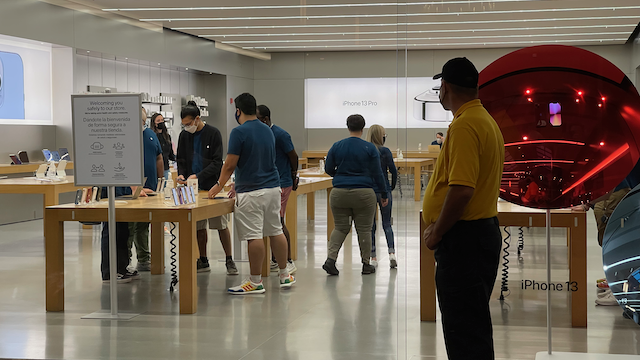
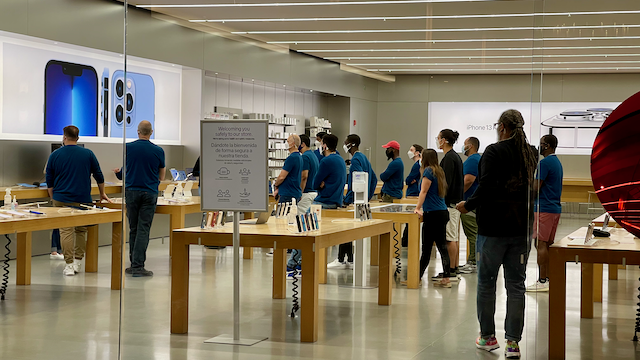
Scott was helping my Dad and I with our new iPhones on launch day. Seeing that I brought my own cable with me, Scott asked if I was going to use an iCloud restore because it was going to be faster. Throwing caution to the wind, I gleefully started my Lightening data transfer. Scott wasn’t wrong. The iCloud restore was faster. My Dad was up and running with his iPhone 13 in about 30 minutes. I wasn’t able to start using my iPhone for at least another 90 minutes. What was left unsaid was what was being transferred. For the iCloud restore, only the data that needed to be restored from the back up was transferred. Everything else could be redownloaded from Apple’s servers. My cable transfer was moving everything from iPhone 12 to 13 and I’d have to wait for the copy to complete. In the end, both types of data transfers took the same amount of time, except my Dad was able to use his iPhone sooner. Your mileage will vary based on how much data needs to transfer or download.
iOS 15 Bug Fix Updates
As of this posting, there have been three iOS 15 updates for iPhones running this year’s version of iOS. For this post, I am focusing on iPhone 13 models. The updates are:
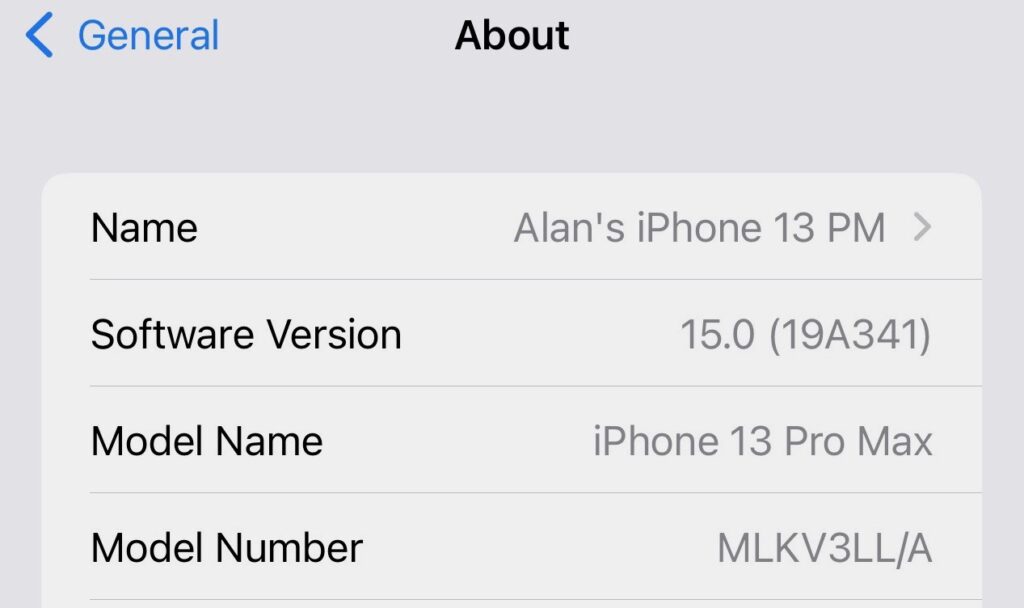
- iOS 15.0 (19A341) initial iPhone 13 release
- iOS 15.0 (19A346) silently released iPhone 13 weekend
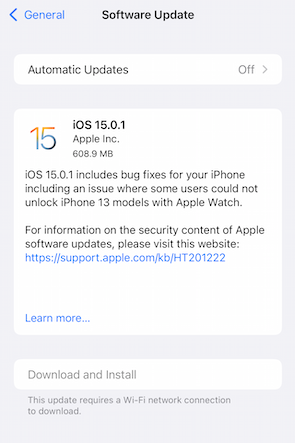
- iOS 15.0.1 (19A347) fixes Unlock with Apple Watch
- iOS 15.0.2 (19A404) multiple annoyance fixes
The most recent update, 15.0.2, released yesterday, has a number of fixes in it that are likely to address the lingering issues around the iPhone 13 launch, including a fix for failing Finder and iTunes data restores, lost photos saved from Messages, Find My and AirTag fixes, and a fix for dropped connections with CarPlay.
All-in-all, iPhone 13 and iOS 15 have been a stable launch, however, there have been a few annoying bugs that left upgraders feeling like they got less features on a new iPhone than they had on their previous iPhone. I certainly felt that way this year. If you have one of the new iPhone 13 models, I suggest upgrading to iOS 15.0.2 when you can. And if iOS 15.0.2 doesn’t fix your bug, iOS 15.1 is currently on the third release of the Public Beta build, suggesting that it should be arriving sooner rather than later.
Starting Over from Scratch
The most annoying problem I faced this year with upgrading to my new iPhone was coming to the realization that there was something corrupted either in my iPhone 12 Pro Max, my iCloud backup, or something else in my iCloud account relating to backing up and restoring to a new iPhone.
To their credit, Apple did try everything possible to help get my iCloud backup to successfully restore on my iPhone 13 Pro Max and ensure that all of the iPhone 13 features were working as advertised.
My issue was that after running Quick Start and restoring my iPhone 12 Pro Max data to my iPhone 13, I was unable to use Face ID to make purchases in the iTunes Store and App Store apps on iPhone. Everything else relating to Face ID, as far as I could tell everything was working normally, excluding the Unlock with Apple Watch feature which had a fix on the way.
Apple Support on Twitter, Apple Telephone Support, and even the team at my local Apple Store were stumped as to what was causing my issue. An in store hardware diagnostics test hinted that a defective Face ID sensor was to blame, despite Face ID working to unlock my iPhone and apps that I enabled Face ID for.
By the time I was sitting at the Genius Bar working working with someone on my issue, I knew that I was looking at some sort of data corruption. I had already hard reset my iPhone 13 and set it up as new and confirmed that Face ID could be used for iTunes Store and App Store purchases. I just wasn’t ready to admit it to myself that I needed to start over. I had been carrying my data across to each new iPhone I purchased starting with my upgrade from iPhone 4S to iPhone 5S. A pretty good run if I do say so myself.
The hardest part for me was reconfiguring iOS the way I had it, reinstalling my apps, and getting everything setup just so. When you start over from scratch, you have nothing on the iPhone.
When you sign in to your iCloud account, you get your personal information manager data back. For me, that was my contacts and notes. As you start to log in to your other accounts, cloud services start to fill in the missing data. For example, signing back into my personal and family Google accounts, I was able to get my email and calendar data back. Because I am an Apple One and iTunes Match customer, I was able to get my text messages, photo library back, and personal music tracks back.
The saving grace for me was that my data lives in multiple places with my iMac and cloud services being co-equal owners of my data. There is a popular saying in corporate records and information circles that “one is none.” If you only have one copy of a vital document – or your data – you have no avenue for recovery. Always have at least two, if not more, copies of your data.
The last few days have been filled with reinstalling apps and then walking down the Settings options double-checking my settings on iPhone 12 and then configuring the same options on iPhone 13.
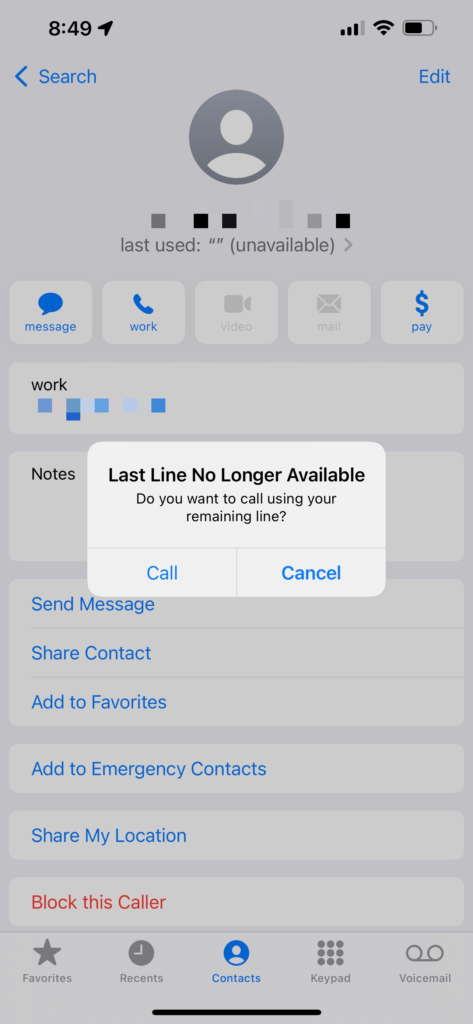
There are still a few snags I hit with some apps. Minor things like having to login to newspaper and take-out apps. These aren’t big deal, but when I find something that isn’t working like it did on my iPhone 12, I am reminded of Unlucky 13.
There are two areas that I haven’t been able to recover. The first is my Apple Watch Series 5 and 6 device backups. With Apple Watch still closely tied to iPhone, I haven’t been able to find a way to restore Watch backups saved to my iPhone 12. So my watch faces and complication settings were ‘lost’. I will reinstall and setup complications when inspiration hits, otherwise, it is just a boring Infograph Modular watch face for me on both Watches.
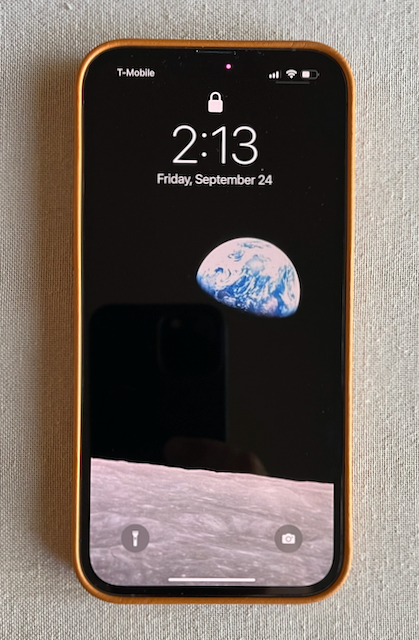
The other area where I ‘lost’ data was my wallpapers in Springboard, the iPhone Home Screen launcher, and for the rooms in the Home app. I don’t recall where I got the pictures from. I was able to do a quick Internet search to find my Springboard wallpaper. To make sure that I have backups for next year, I created a new Photos album called iPhone Wallpapers and saved copies of my wallpapers into it.
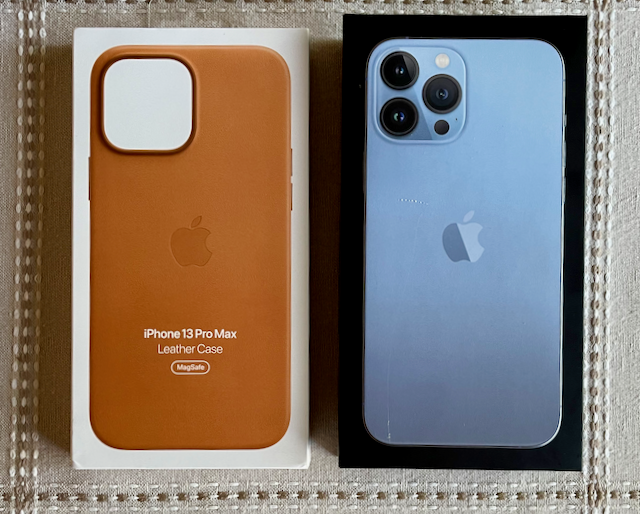
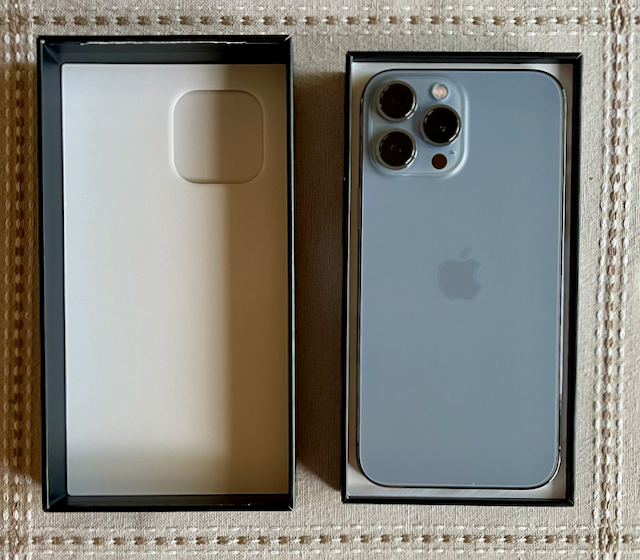
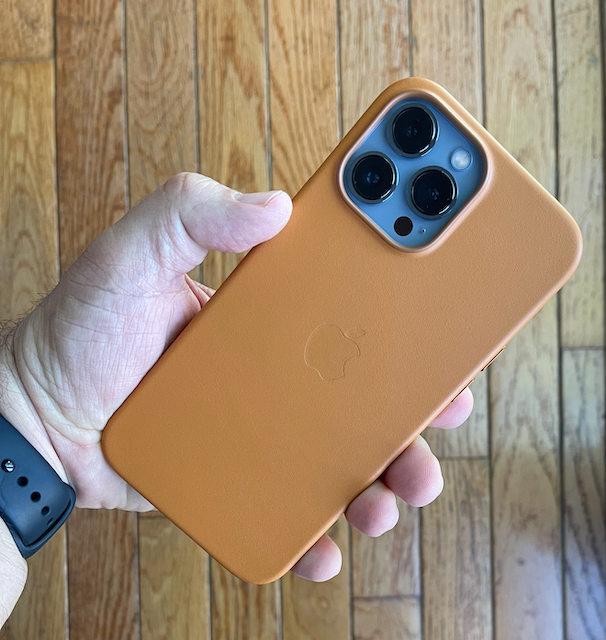
My path to iPhone 13 Pro Max has been more ‘challenging’ this year than in years past. The usual excitement and enthusiasm around getting a new iPhone was tempered by hardware and software problems. Still, as I get farther way from iPhone 13 launch day, I get to appreciate the new features of my iPhone more and more.
Hopefully, next year’s iPhone party will be back to normal.