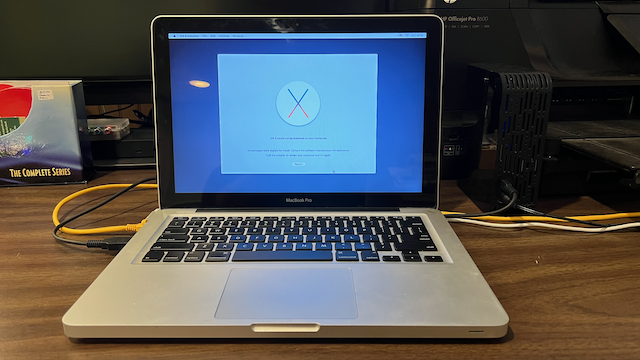
I was recently given a 2012 MacBook Pro from a family member who asked me to wipe their data and recycle the computer.
Erasing the hard disk was easy enough – I just connected it to a SATA to USB-A bridge box that I have and reformatted it from my Mac Studio.
Where I ran into trouble was trying to load a clean install of Mac OS X 10.11.6 El Capitan on the MacBook Pro. I kept running into an error that read, in part:
"OS X could not be installed on your computer. No packages were eligible for install."I tried a couple of variations on reformatting the disk from another MacBook Pro and a Windows 10 PC with no luck.
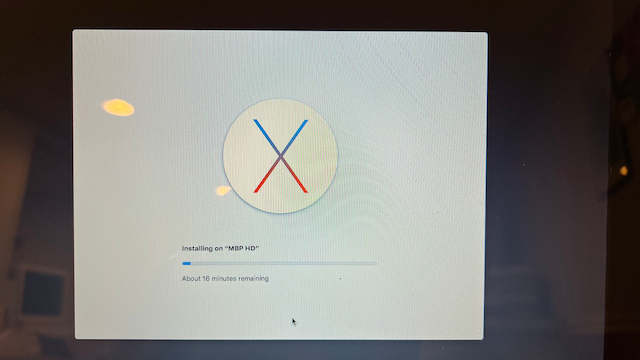
It turns out that the date needs to be rolled back to 2017 to get the installer to run properly. Here’s how I fixed the problem:
- Boot the Mac from your install media. Make sure any network connections (Ethernet or Wi-Fi) are disconnected or disabled.
- When the OS X installer screen appears, click Utilities > Terminal.
- From the Terminal application, issue the command:
date 0115124517 - The response from Terminal should be a string that reads something similar to:
January 15 12:45:00 2017. - Quit the Terminal app.
- Reconnect your network connection.
- Follow the on-screen prompts to complete your Mac OS X install.
As you can see, the processed worked for me. The problem related to the El Capitan’s installation certificate has expired. As a result, the installer returns the error message about no eligible packages being available to install. When you disconnect the Mac’s network connections and roll back the date, you are ready to party like it’s 2017 and reinstall El Capitan.